Minestrone soup! 

It’s getting warmer, veggies are starting to pop up everywhere! In my opinion it’s never too warm for soup! It’s packed full of fiber and lots of nutrition! Plus it’s super easy to make. 

Minestrone soup 

2tsp olive oil 

2 onions chopped

3 cloves of garlic chopped 

2 carrots diced

2 stalks of celery diced 

1 can 28oz chopped tomatos (with juice)

4 cups water 

4 cups plain tomato juice 

1C small shell pasta (uncooked still) 

1 cup fresh green beans, cut in half 

2 zucchini chopped 

1 bag spinach torn 

1 can light red kidney beans drained

1 can dark red kidney beans drained 

Salt and pepper to taste 

Parmesan cheese for garnish (optinal) 

1) cut everything up before you even start trust me it will make your life a hell of a lot easier!!!! 

2) in a large pot sauté onion, garlic, carrot and celery until soft. 

3) add water and tomato juice, season lightly and allow to simmer for 45 minutes.
4) add green beans, zucchini, and kidney beans. Simmer for 20 minutes. 

5) Add pasta and torn spinach and cook for 15 minutes or until pasta is tender. 

6) season to taste and serve, or cool, portion and freeze! 

Seriously, this is like the ultimate good for you soup! Better then chicken noodle in my humble opinion, and it’s beautiful! Eat as much as you want and you don’t have to even feel guilty about it! 

I would have taken a picture of the result….but I kind of ate it all already…. sorrry guys 💔

Happy slurping 

TMPP 

The best apple pie ever. Seriously 

So I skipped prep and decided to just get the basics and make an apple pie, which I haven’t actually done in a pretty long time. Now this recipe utilizes the amazing and magical properties of CAST IRON! Cast iron is a beautiful way to cook and clean up is always a breeze, because all you do is rinse with hot water, dry, and wipe down with oil. It’s naturally non-stick, and adds a dash of iron into your food when you cook with it (ladies naturally need more iron in their diets), and it’s heavy enough to be used as a weapon during a breaking and entering. You can fry chicken, sear a steak, and make the best damn apple pie you will ever taste. Trust me. 

The best cast iron apple pie ever

3 large Granny Smith apples peeled and sliced 

3 large Braeburn apples peeled and sliced 

3/4C. White sugar

Pinch of salt 

1 tbsp. apple pie seasoning (cinnamon, nutmeg, allspice) 

3 tbsp flour 

1 stick unsalted butter

1C. Brown sugar

1 pkg of 2 refrigerated pie crusts 

1 egg white

2tsp water 

1. Preheat oven to 350 degrees 

2. Toss apples in white sugar and a pinch of salt, place in a colander over a bowl and allow to drain for 1 hour, save the liquid. 

2. After apples are drained place liquid in a small saucepan and reduce by half 5-10 minutes, allow to cool. 

3. Toss drained apples in flour and apple pie spice, drizzle cooled reduced apple pie liquid over apples and toss again.

4. Heat butter in cast iron skillet over medium heat, add brown sugar and cook for about 2 minutes stirring constantly with a wooden spoon. Remove from heat and cool slightly. 

5. Lay first layer of pie crust over top the brown sugar mixture, then arrange the apples slightly overlapping around the bottom of the crust. Make sure to pour any liquid left in the bowl over top. Add second pie crust over top, cutting 4 slits in the top to allow steam to escape. 

6. Whip egg white and water with a fork until foamy, brush over the entire crust to create a light glaze, then sprinkle with about 2 tsp. white sugar.  

7. Bake for 1 hour and 10 minutes, checking periodically for browning (you can cover with aluminum foil to prevent overbrowning as needed) I turn my pie at 35 minutes to ensure even browning.

8. Remove from oven and allow to cool for 30 minutes (seriously, no touching! This is important! If you cut it hot, all that juice will run everywhere, if you let it cool that juice has a time to set and hold everything in nice slices) 

As the old saying goes, “to make an apple pie from scratch you must first invent the universe” -Carl Sagan

The real MPP 


Seriously the fastest and tastiest fried rice ever

I pull crazy long shifts in the restaurant, and when I get home I am tired, filthy, I usually smell like onions and hate, but with that said I wouldn’t have it any other way. I freaking love being a chef, but does that mean I want to cook the moment I get home after cooking literally all day long? Not so much. Hence why I meal prep 1 day out of the week so I don’t have to deal with it. But there are times when like this week I don’t prep and need to eat a hot meal. Hey, I can’t survive off of yougert and granola for a week solid. So I have literally the fastest and easiest fried rice you will ever make, it tastes better and is better for you then take out. 

Fried rice (serves 2) 

1C. Frozen peas and carrots (or any frozen veggies, or chopped fresh veggies, literally whatever you have laying around) 

1 bag microwave uncle bens brown rice, heated according to package directions 

2 eggs 

3tbsp of soy sauce 

If you have leftover cooked chicken, shrimp, beef, whatever throw it in or leave it vegetarian. 

1. Heat a few tbsp of oil in a skillet, add frozen veggies and cook till tender 

2. Make a well in the center and crack the eggs, break the yolks and scramble with the veggies 

3. Dump in the cooked rice

4. Add soy sauce 

5. Eat

This literally took me 5 minutes or less to throw together and BOOM I have a hot healthy meal for the love of my life as well as myself. 

Try it next time you feel like reaching for the Chinese take out menu 🙂 

Keep it real!

The meal prep princess 

Slow simmered pasta sauce 

It’s prep Sunday again!! So you know what that means, recipe time!!!! I love pasta, but what I love even more is a slow simmered sauce full of rich developed flavors. I have a sauce here that is built off of Marcella Hazan’s original recipe which calls for butter instead of the traditional olive oil, and trust me when I say don’t wuss out and use olive oil (it’s okay to have a little butter when you are eating clean and healthy).

But. I decided to add some different elements to my sauce instead of the simple butter, onion, salt, tomato recipe. 

Here’s mine, and trust me it’s soooo worth the wait!

Slow simmered tomato sauce 

4 big cans peeled plum tomatos 

1 whole head roasted garlic (directions below) 

1C white wine 

5tbsp butter

1 onion sliced in half, peel/paper removed

2tsp white sugar  

2tbsp. Fresh basil 

Salt and pepper to taste 

(1lb ground chuck browned if you want to make meat sauce, which is what I did) 

1. Preheat oven to 400 degrees 

2. Take your bulb of garlic and slice right across the top with the paper still on. Drizzle bulb with olive oil, wrap in foil and roast for 2 hours. Remove, allow to cool, squeeze the guts out of it and set aside. 

3. Melt butter in large pot over medium low heat, add roasted garlic and allow to become fragment for about 2 minutes.

4. Add the white wine and the onion and reduce for about 7 minutes. 

5. Add tomatos with their juices and simmer on low for 4 hours. 

6. Season to taste and add fresh basil right before tossing your favorite pasta in this magical sauce. 

*freezes well 

*keeps in the fridge for 1 week

Perfect for my prep meal strategy this week!

Enjoy! 

The meal prep princess 

Peanut butter cookies 

So, we have been discussing healthy and diet for a few posts so let’s have a fun one shall we? Peanut butter cookies, you can smell them from a mile away and everybody LOVES them. I have a recipe that bakes a little flat with crisp edges and a soft middle. The perfect peanut butter cookie to satisfy any craving! 

Peanut butter cookies

2 sticks of softened butter 

1 cup of creamy or crunch peanut butter 

1 cup brown sugar

1 cup white sugar (plus more for rolling)

2 eggs

1 teaspoon baking powder 

1 teaspoon baking soda

1 teaspoon vanilla extract 

1/2 teaspoon salt 

2 1/2 cups of all purpose flour 

Preheat oven to 350

Cream together butter, brown and white sugar, peanut butter, and vanilla until fluffy. Add eggs one at a time until combined, scraping down the bowl with each addition. 

In a separate bowl combine all dry ingredients. 

Combine wet and dry just until dough forms. Scoop into 1oz balls, roll in sugar, and press criss cross with a fork. 

Bake for 7-8 minutes. Allow to cool for 3 minutes before attempting to consume. 

For thick chewy cookies, chill dough for 1 hour before rolling. 

*fun add ins before baking: mini chocolate chips, butterscotch chips, Reese’s peices, chocolate sprinkles, dried cranberries, m&ms, and more. 

*for chocolate peanut butter cookies, add a few spoonfuls of Nutella or sundae fudge before chilling. 

Remember, it’s all about balance, have a cookie or two, just not the whole tray (but I won’t tell if you do eat the whole tray 😉)

Happy baking! 

The meal prep princess 

Snacks

Hello all, today’s installment talks about one of my favorite things ever. Snacks. I LOVE snacks of all shapes, sizes, and textures! Snacks can also be sneaky and tricky, without realizing it we can sit and eat a whole family sized bag of potato chips and not even realize it until we have hit the bottom of the bag. But I do have some solutions for successful snacking! 

The snacks I love the most would have to be pretzel sticks, dried fruit such as pineapple and mango, freeze dried strawberries, fresh fruit of all kinds, baby carrots and celery, gluten free crackers with tuna, babybell cheese with grapes, yougrt and granola, cottage cheese, dark chocolate, rice crisps, pickles, olives, I really could go on forever and ever about snacks. But apart from snacking right is watching the portion! 

Always pre portion snacks, this has saved me time and time again and it’s handy for keeping in your lunch bag for mid afternoon hunger pains. I bag things like pretzels and dried fruit in zip lock bags. Dose them out in serving sizes, 1/3C of dried pineapple has about 130 calories. Dried pineapple is more calorie dense then fresh pineapple so watch out, however it is good to raise blood sugar and it’s better then eating a bag of candy. Fresh fruit and veggies I pack into small deep to-go’s and stash them in the fridge for breakfast as well as snacking. 

Follow your hunger cues, when you are reaching for a snack, think to yourself “am I hungry enough to eat an apple” if yes, then you are hungry and should eat, if no then your mind is bored, you aren’t actually hungry. Try not to snack in front of the TV if at all possible, because I have a tendency to eat snack after snack if I’m watching tv, so I try to keep my hands busy instead by sketching, playing with a stress ball, crochet (which was an epic fail I should add). 

Always try to have a snack after a workout, something lite, with healthy fat and protein, turkey, a handful of nuts, an avacado and egg on toast, fresh fruits with Greek yougert are all excellent picks! 

Also eating small meals throughout the day keeps your blood sugars level and can help you fight fatigue and help curb the cravings for the junk food. Eating several small meals a day also helps promote weight loss, and better overall health. 

Happy snacking! 

The meal prep princess 

Meal prep basics part 1

Okay, for anyone who has ever been on Pinterest I’m sure you have seen pages upon pages of beautifully boxed and portioned prep meals all lined up on the counter in neat nutritious perfection. It’s a little intimidating I know, actually it’s a lot intimidating especially for a first timer. But relax, I have all the tips to success (after many weeks of trial and error). 

The most important part of prep is your list! There will be 3 lists. 

List 1: decide ahead of time what you are going to make. Since I prep for 2 people for the week I make 3 different dishes of 6 boxes of each item. Once you have decided what to make, find your recipes if need be. It can be as easy as a chicken ceaser salad, or as complicated as tamales. But I try to prep things that are fast, keep well over a period of time, and reheat well if need be. 

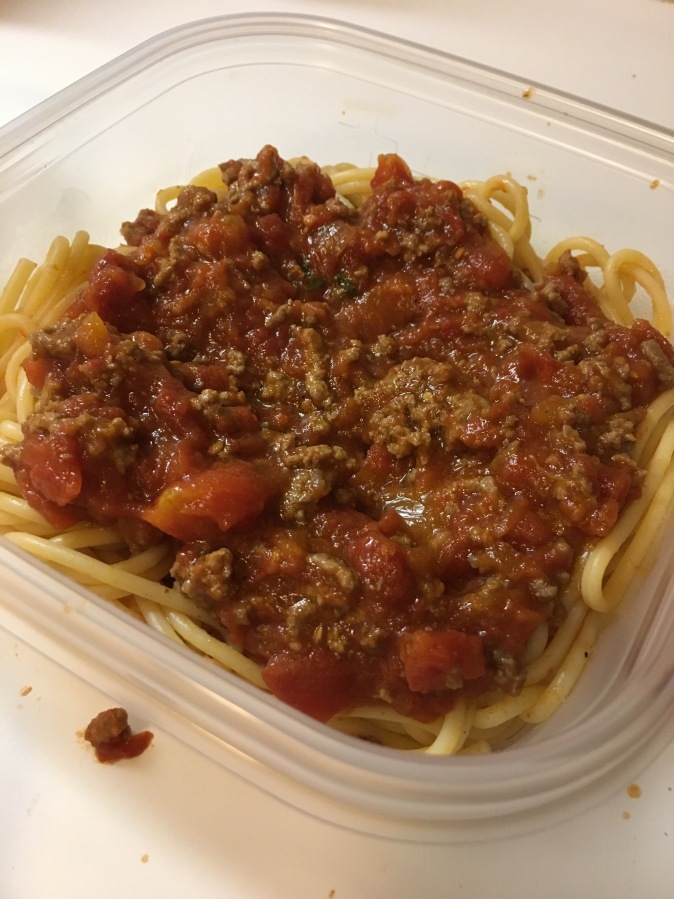
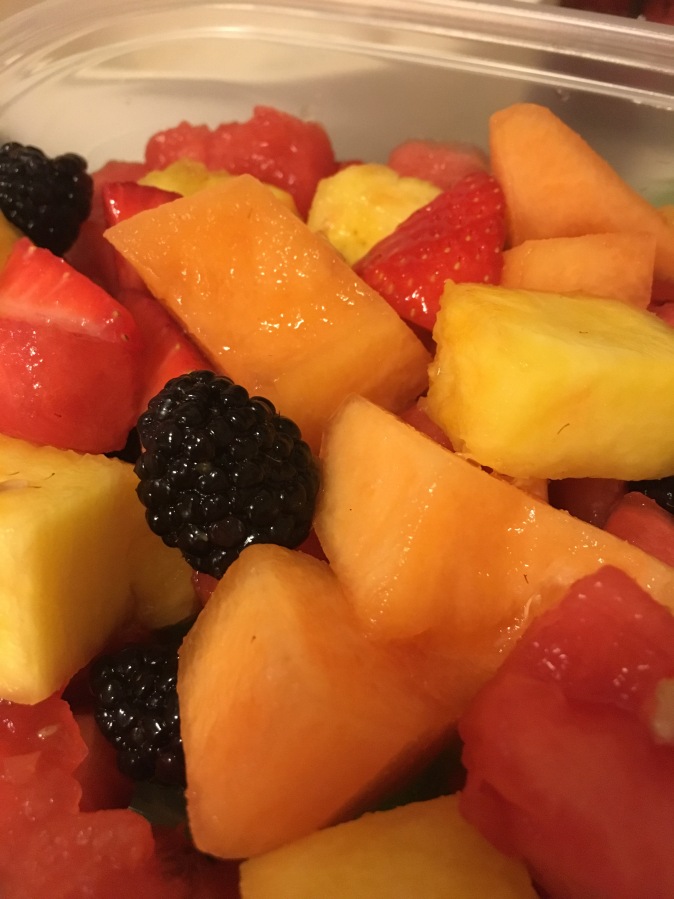
Things that prep well are: salads (dressings always on the side, or else things get soggy) pastas with sauce, shredded pork, chicken or beef, chicken breast, roasts, chili, stew, wraps (condiments on the side for the same reason as above) egg cups (recipe will come later) fresh fruits and vegetables too, yogurt parfaits (granola on the side) cutie orange fruit, peel on bananas, pomegranates, almost anything can be prepped beforehand with some assembly required. 

Things that don’t prep very well: runny yolk eggs, avocado, most fish (salmon actually preps pretty well), fried or crispy anything (trust me it will get soggy) sandwiches on soft bread (if you are going to do a sandwich, make your “filling” and keep the bread and condiments separate and assemble when you are ready to eat) pre cut apples tend to get brown no matter what you do with it so better to eat out of hand. 

List 2: now that you know what you are making write down all of your ingredients (and quantities) then, go into your pantry and find what you have and don’t have (I cross things out as I go) there is nothing worse then getting home after a big grocery hall and realizing you forgot or ran out of something and have to run back to the store. 

List 3: re-write your final grocery list. Write it out with the layout of your local grocery store in mind trust me this will save you boat loads of time and steer you away from temptation. So mine is written out as produce, deli meat, raw meat, canned/box items (by aisle, I have my local store layout memorized by now), frozen, dairy, and finally non-food items (toilet paper, “to-go’s”, etc) 

A note on “to-go’s” this is what all of my finished meals come packaged in. They are disposable cheap Tupperware containers that I can wash and use again (or throw out if they get gross or I forget them in my car for 2 weeks). I use the square ones for my meals, small deep ones for fruits and vegetables, and bowl types for stews, soups, and chilis. 

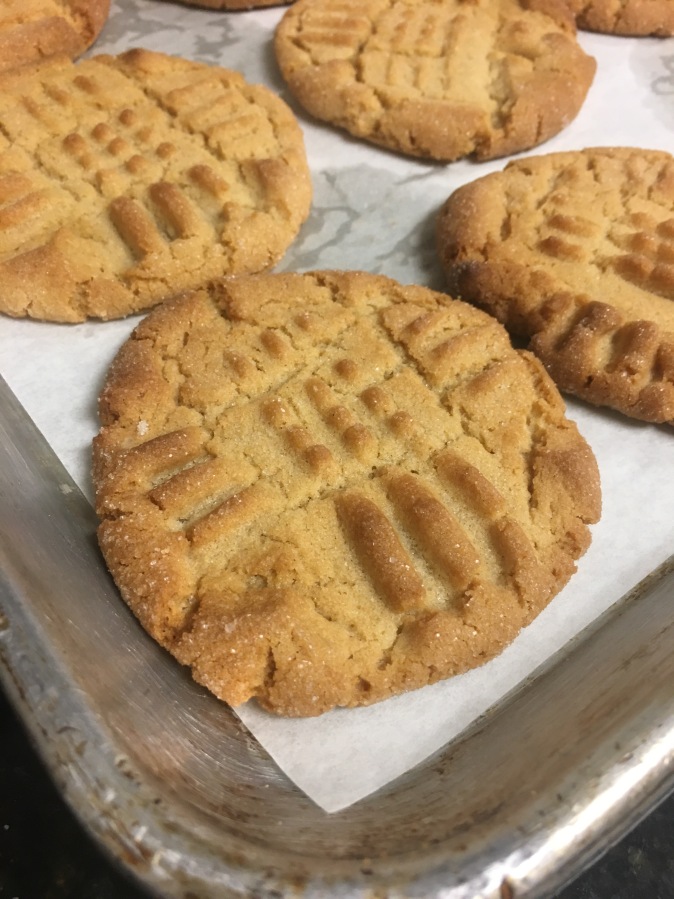
Now comes the legwork, when you get to the store stick to your list! I cannot stress this enough. I pre-plan all of my snacks before hand and write down what I’m getting. I used to go to the store and grab a box of cookies, or candy, or things I just didn’t need that were unhealthy or a waste of money. Stay strong, it all pays off, you might want those cookies now but in a few months you won’t even give them a second glance. Be prepared to spend around 30-60 minutes at the store depending on your haul. Try to go as early as time will allow, my local store doesn’t re-stock throughout the day so in order to get the best produce and meat I have to beat the Sunday crowd. Plus if your store doesn’t carry something, this gives you time to adjust your recipe or find a substitute (I have googled substitutes from my phone numerous times right there in the store) once you are finished, treat yourself to a cup of coffee (we have a Starbucks in my local store) this perks me up and prepares me for my prep day ahead. 

Now throw it all in your car and hurry home. Put away the frozen and perishables like meat and produce. Now grab your first list with recipes and read them over again before you begin to make sure nothing has to marinade for an hour, has to sit, bakes for 4+ hours etc. 

The next step is actually prepping, this will be a separate post so you don’t get overwhelmed by reading a novel of tips and tricks, trust me prep is easy once you get all of the above done. Stay tuned. 

Love

The meal prep princess